To carry out printing tasks at BC front end, both PrintNode setup and BE-terna PrintConnect setup must be done.
Step 1 A new user account can be created on the PrintNode website. A welcome email will be sent to the new user automatically after an account has been created. The new user must click on the validating link to validate his email address.

Step 2
The new user clicks the link in the welcome email to download and install the PrintNode Client. Attention: Please DO NOT choose "Install as a Service" during the installation. Otherwise, some of the printers will not be identified.
-35a8e79c-f38d-4ffd-a3c2-8578faff077b.png)
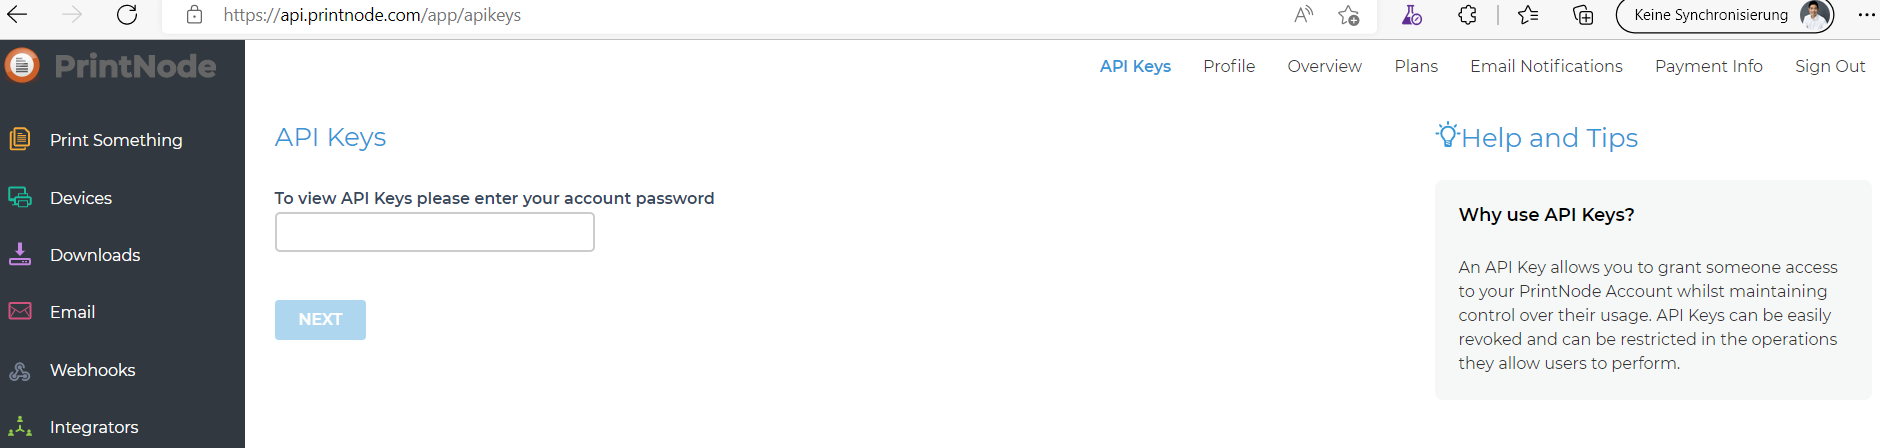
Step 3 After the PrintNode Client has been installed, an API Key can be generated on the PrintNode website for the connection with BC.
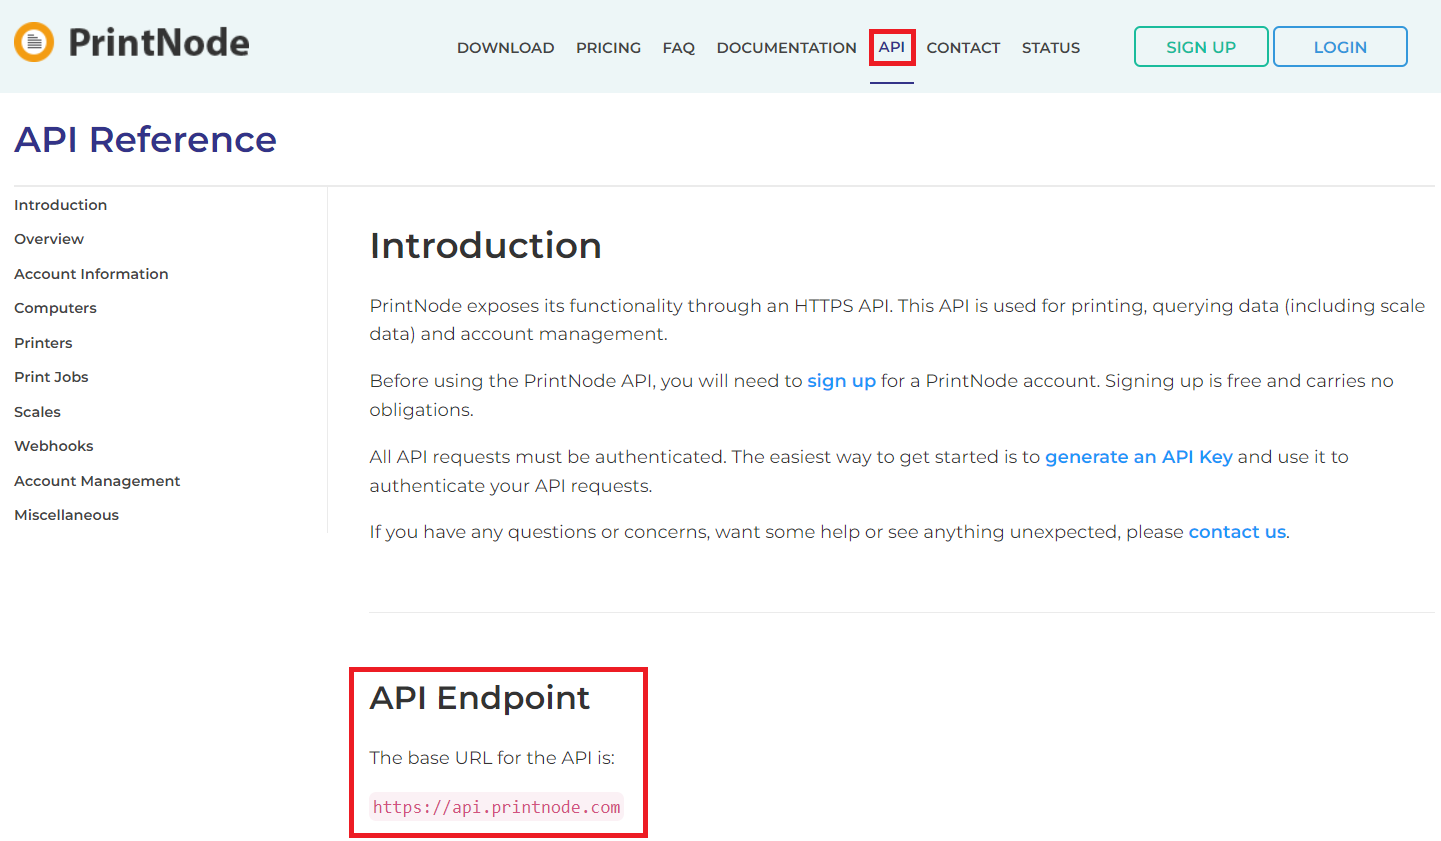
Step 4 An API URL can be found on the PrintNode website by clicking API on the main menu.
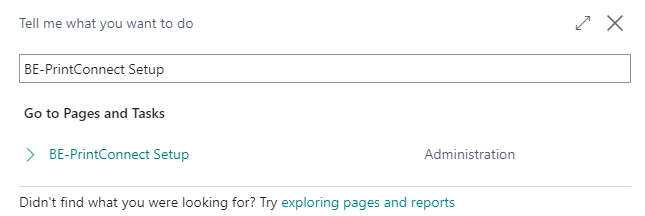
Step 1 The BE-terna Printconnect setup can be done only after the PrintNode setup succeeded. It must be done on the BE-terna Printconnect Setup page in BC. This page can be found by using the search function in BC.
Step 2 The new user fills in his API Account, API Key, and API URL to connect BC with PrintNode.

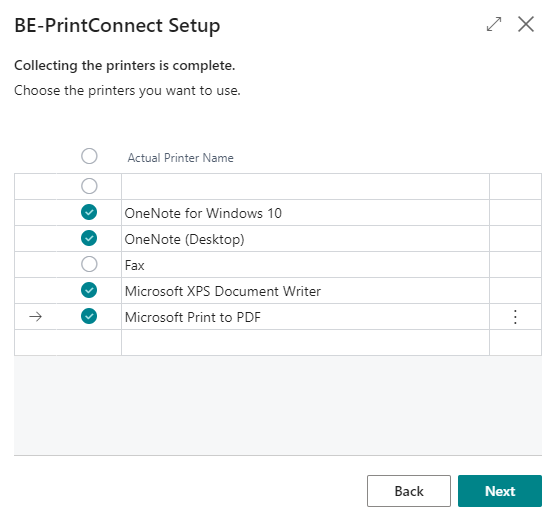
Step 3 The system recognizes all the printers of the new user automatically. The new user can define here which printers he would like to use for his future printing jobs.
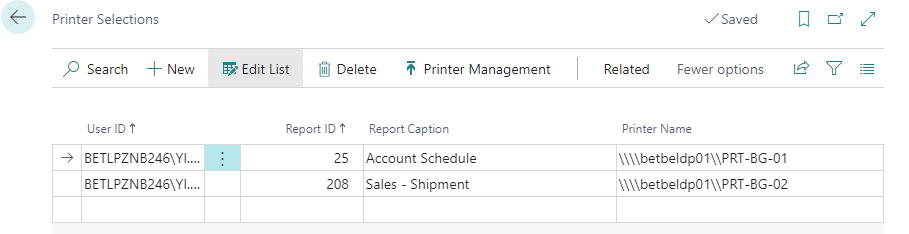
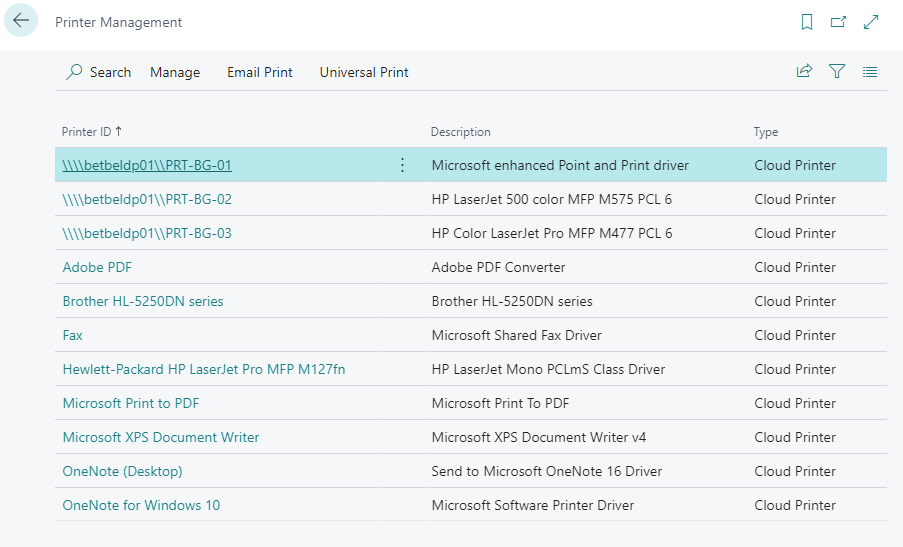
Step 4 All chosen printers are listed on the Printer Management page.
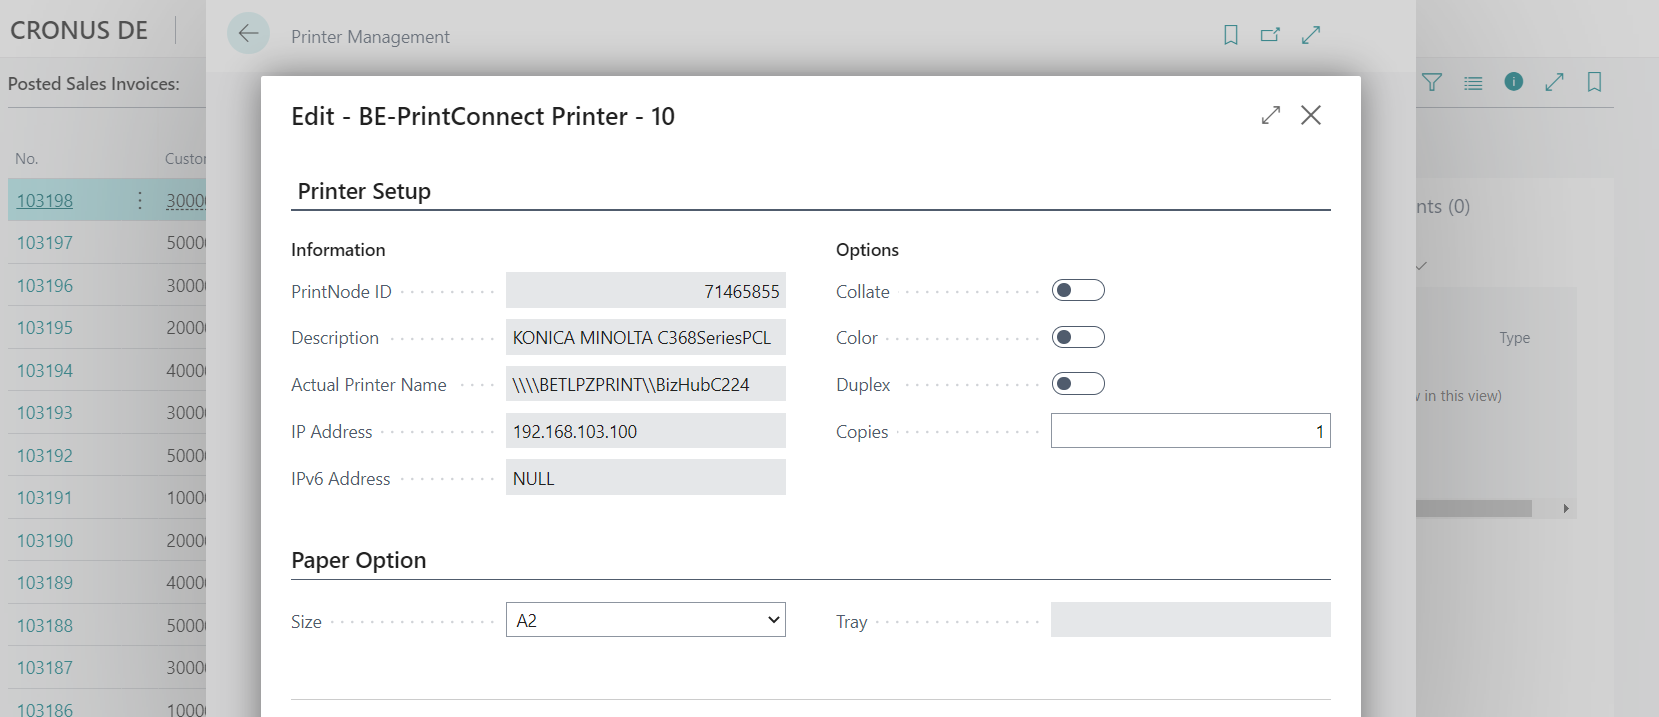
Step 5 Detailed printer setup for each printer can be done by clicking the Printer ID.
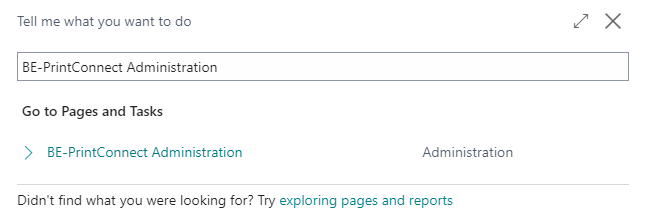
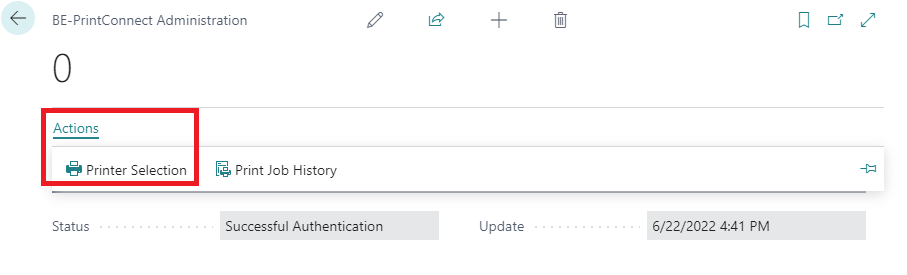
Step 6 The new user finds the BE-terna Printconnect Administration page by using the search functions in BC.
Step 7 Default printers can be defined by clicking the Action button and selecting printer on the BE-terna Printconnect Administration page.
Step 8 The Report ID of the chosen document can be then matched with Printer Name.